Mastering Gas Water Heater Installation: Your DIY Handbook
Why Gas Hot Water Tank Installation Is More Than Just Swapping Out a Tank
Gas hot water tank installation is a project that can save you money and restore comfort fast — but only if it’s done right.
Here’s a quick overview of the core steps:
- Shut off the gas and cold water supply
- Drain the old tank using a garden hose
- Disconnect the vent, gas line, and water lines
- Remove the old unit with a dolly
- Position and level the new tank in a drain pan
- Connect water lines, gas line, and vent
- Install the T&P relief valve and expansion tank
- Test for gas leaks with soapy water
- Fill the tank, light the pilot, and set thermostat to 120°F
Gas water heaters typically last 8 to 12 years. When yours starts showing signs like rusty water, rumbling noises, or pooling water around the base, it’s time to act.
The stakes are real. Unlike swapping out a faucet, a gas water heater involves live gas lines, exhaust venting, and water pressure management. A missed step can mean a gas leak, carbon monoxide buildup, or a flooded utility room.
This guide walks you through every part of the process — clearly and safely.
At Upfront, we’ve spent years helping homeowners understand practical, cost-effective solutions for projects like gas hot water tank installation. Whether you’re a confident DIYer or just want to know what’s involved before calling a pro, this handbook walks you through the essentials.

Preparing for Your Gas Hot Water Tank Installation
Before you start disconnecting pipes, make sure a full replacement is really needed. Some problems can be solved with a new thermocouple or a thorough tank flush, but storage water heaters do not last forever. In homes across Boise, Idaho, a gas water heater that is around 8 to 12 years old is often nearing the end of its reliable service life.
Signs You Need a Replacement
- The Age Factor: If your heater is 8–12 years old, the internal lining is likely deteriorating.
- Rusty Water: If red or brown water comes only from the hot side, your tank is rusting from the inside out.
- Puddles and Leaks: Moisture around the base usually indicates a fracture in the inner tank.
- Rumbling Noises: This is the sound of sediment “boiling” at the bottom of the tank, which eventually leads to metal fatigue.
The Essential Tool List
Don’t get halfway through the project only to realize you’re missing a pipe wrench. To perform a proper gas hot water tank installation, you’ll need:
- Pipe wrenches (two): One to turn the pipe, one to “back up” the fitting so you don’t snap a line.
- Tubing cutter: For clean cuts on copper water lines.
- Teflon tape and Pipe Dope: Use white tape for water and yellow tape specifically rated for gas.
- Soldering kit or Push-to-Connect fittings: Depending on your comfort level with a torch.
- Dish soap and water: For the “bubble test” to find gas leaks.
- Measuring tape and a level: To ensure the tank sits perfectly straight.

Local Building Codes and Permits
In Idaho, specifically in areas like Boise, Caldwell, and Eagle, gas hot water tank installation is regulated by strict building codes. Most municipalities require a permit. Why? Because an inspector needs to verify that your venting won’t leak carbon monoxide into your bedroom and that your gas lines are pressure-tight. Always check with your local building department before starting. You can find more details on Gas Water Heater Installation Instructions and Tips.
Choosing the Right Size for Gas Hot Water Tank Installation
Sizing isn’t just about how many gallons the tank holds; it’s about the First Hour Rating (FHR). This number tells you how much hot water the unit can deliver in one hour of peak usage.
| Household Size | Recommended Tank Capacity | Typical FHR Range |
|---|---|---|
| 1–2 People | 30–40 Gallons | 50–60 Gallons |
| 3–4 People | 40–50 Gallons | 65–85 Gallons |
| 5+ People | 50–80 Gallons | 90+ Gallons |
If you frequently run the dishwasher while someone is showering, you might want to bump up to a 50-gallon unit even for a smaller family. For more on sizing and selection, visit our Water Heaters page.
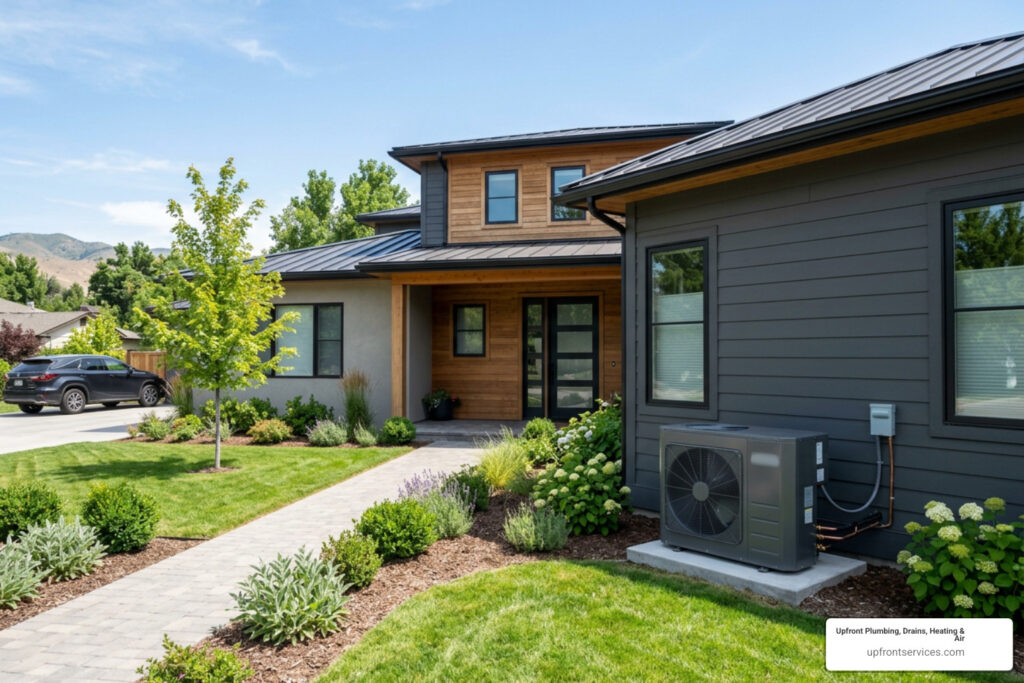
Understanding Tankless vs. Traditional Tank Models
While this guide focuses on tank models, many homeowners in the Salt Lake Valley are considering tankless options.
- Traditional Tanks: Lower upfront cost, simpler installation, but they occupy more space and have a shorter lifespan (8–12 years).
- Tankless Gas Heaters: These offer an endless supply of hot water and can last 20+ years. However, they often require Repiping because they need larger 1-inch gas lines to handle the massive BTU demand (up to 199,000 BTUs compared to 40,000 for a tank).
Step-by-Step Guide to Removing the Old Unit
Removing the old heater is often the most physically demanding part of the job. A 50-gallon tank full of water and sediment can weigh over 500 pounds.
- Cut the Power and Fuel: Turn the gas valve to the “Off” position. If your heater has an electronic ignition or a power vent, unplug it.
- Close the Cold Water Supply: Turn the handle on the cold water pipe leading into the tank.
- Drain the Tank: Connect a garden hose to the drain valve at the bottom. Run the other end to a floor drain or outside. Open a hot water faucet somewhere in the house to “break the vacuum” and allow the water to flow out faster.
- Pro Tip: If the water stops flowing but the tank is still heavy, sediment might be clogging the valve. You may need to carefully poke a wire into the valve to clear the blockage.
- Disconnect the Lines: Use your pipe wrenches to disconnect the gas line and the water lines. If your water lines are soldered copper, you’ll need to cut them with your tubing cutter.
- Detach the Vent: Remove the screws connecting the draft hood to the vent pipe.
- Out with the Old: Once the tank is empty, use a heavy-duty appliance dolly to move it out of the way. If you’re dealing with a basement installation in a place like Draper or Riverton, make sure you have a helper for the stairs!
If you find that your old pipes are corroded or leaking during this process, you might need a Boiler Repair specialist or a plumber to refresh the surrounding infrastructure.
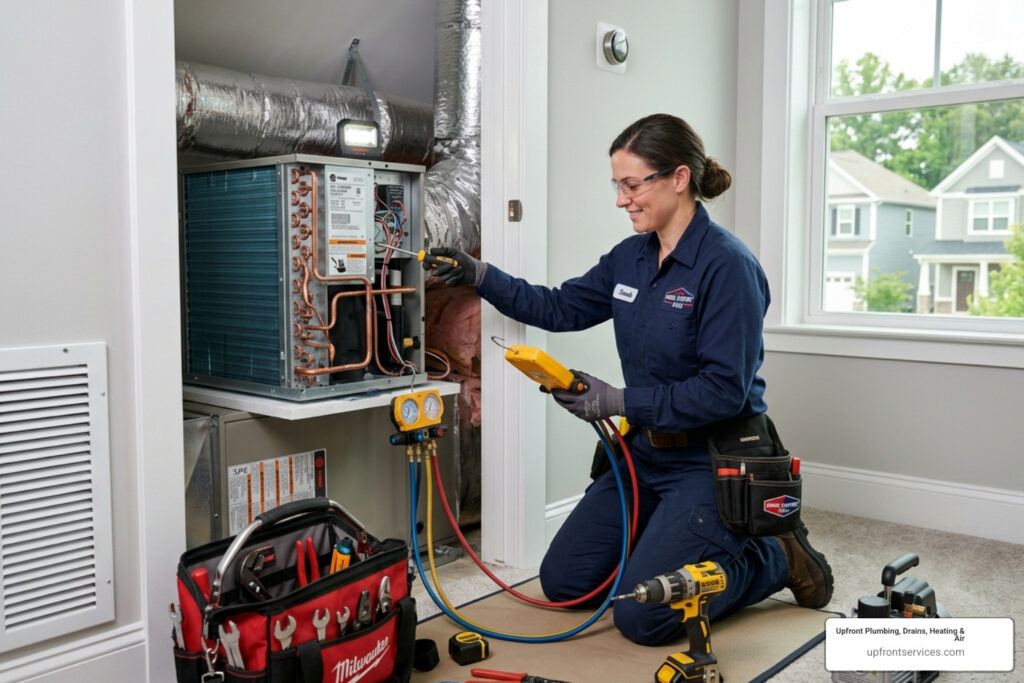
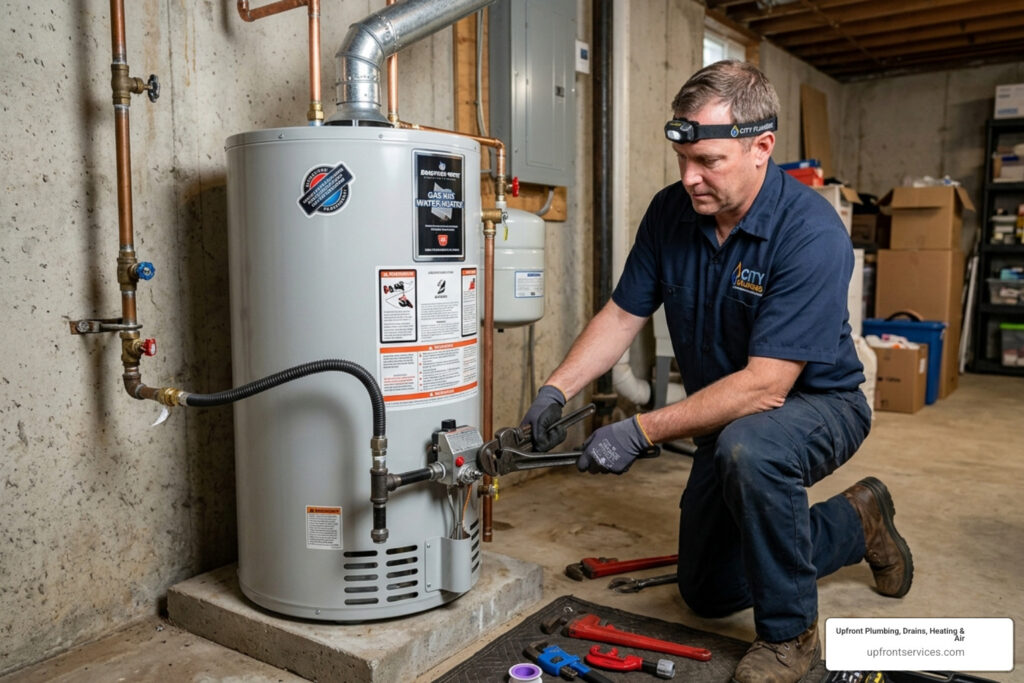
Installing the New Gas Water Heater
Now that the space is clear, it’s time for the actual gas hot water tank installation.
- The Drain Pan: Place a new metal drain pan on the floor. This is a code requirement in many Idaho cities to prevent water damage from future leaks.
- Positioning: Set the new heater into the pan. Rotate it so the gas control valve and the burner access are easy to reach.
- Leveling: Use a level to check the tank. If your floor is uneven (common in older homes in Caldwell), use plastic shims to level the unit. A tilted tank can put uneven stress on the flue and internal components.
- Prep the Fittings: Install the Temperature and Pressure (T&P) relief valve if it wasn’t pre-installed. Apply Teflon tape to the threads.
- Water Connections: Most modern heaters use “dielectric nipples” to prevent electrolysis (corrosion caused by joining different metals). You can use flexible stainless steel connectors for an easier DIY install, or solder copper directly if you’re experienced. Many pros now use push-to-connect fittings for speed and reliability.
For more technical guidance, you can refer to the A.O. Smith Installation Guide.
Connecting Water and Gas Lines
When connecting the water, remember: Cold goes in the “In” (usually marked with a blue ring) and Hot comes out the “Out” (red ring).
For the gas line, you must include a sediment trap (also called a drip leg). This is a T-junction in the pipe with a short capped vertical section. It catches moisture and debris before they can enter and ruin your gas control valve.
- Warning: Always use yellow gas-rated Teflon tape or pipe dope on gas threads. Never use the white water tape on gas lines.
If you’re upgrading from a different fuel source, you might need a full Boiler Replacement or a new gas line run by a professional.
Proper Venting and Exhaust Setup
Venting is the most critical safety step. Most standard gas heaters use atmospheric venting, which relies on the fact that hot air rises.
- The Draft Hood: Place the draft hood over the flue hole on top of the heater. Secure it with at least three sheet metal screws.
- Slope: The vent pipe must slope upward toward the chimney or wall exit at a minimum of 1/4 inch per foot.
- Clearance: Ensure the vent pipe is at least 6 inches away from any combustible materials like drywall or wood framing.
Failure to vent properly can lead to backdrafting, where carbon monoxide stays inside your home. After installation, perform a “match test” or “smoke test” at the draft hood to ensure the air is being sucked up and out.
Essential Safety Components and Final Testing
The Thermal Expansion Tank
In Utah, many municipal water systems are “closed systems” thanks to backflow preventers. When water heats up, it expands. In a closed system, that pressure has nowhere to go, which can blow out your tank’s inner lining or cause the T&P valve to leak.
- Installation: Mount the expansion tank on the cold water supply line.
- Calibration: Use a tire pressure gauge to check the air pressure in the expansion tank. It must match your home’s water pressure (typically between 40 and 80 psi). If your home pressure is 60 psi, pump the tank to 60 psi before installing it.
Finalizing Your Gas Hot Water Tank Installation and Testing
Before you light that pilot, you must fill the tank. Never light a gas water heater that is empty; you will destroy the tank in minutes.
- Fill the Tank: Open the cold water supply valve. Keep a hot water faucet open elsewhere in the house. When water starts flowing steadily from that faucet without “burping” air, the tank is full.
- Check for Gas Leaks: Turn on the gas supply. Spray a mixture of dish soap and water on every gas joint. If you see growing bubbles, you have a leak. Shut off the gas immediately and tighten the connection.
- Light the Pilot: Follow the manufacturer’s instructions on the side of the tank. Most modern units have a piezo igniter (a button you click).
- Set the Temperature: Set the dial to 120°F. This is the “sweet spot” that prevents scalding while providing enough heat for domestic use.
Professional vs. DIY: Making the Right Choice
We love a good DIY project, but gas hot water tank installation is a high-stakes task.
Why Hire a Professional?
- Safety: We handle gas and carbon monoxide risks every day. We ensure your venting meets the latest International Residential Code (IRC).
- Speed: A pro can usually swap a tank in 2 to 4 hours. A DIYer might spend an entire weekend on it.
- Warranty: Many manufacturers only honor warranties if the unit was installed by a licensed plumber.
- Cost: While DIY saves on labor, professional installation typically ranges from $1,000 to $3,000 (including the unit). If a DIY mistake leads to a flood, that “savings” evaporates instantly.
At Upfront Plumbing Drains Heating & Air, we provide transparent, upfront pricing for residents in Garden City, Meridian, and across the Boise. We make sure the job is done right the first time, backed by our unmatched warranties.
Frequently Asked Questions about Gas Water Heaters
How long does a gas water heater typically last?
Most gas units last 8 to 12 years. You can extend this by flushing the tank annually to remove sediment and checking the anode rod every two years. The anode rod is a “sacrificial” metal rod that attracts corrosion so the tank doesn’t have to.
Do I need a permit for gas water heater installation?
Yes. In almost all Idaho jurisdictions (including Eagle, Caldwell and Meridian), a permit and subsequent inspection are required. This ensures the gas line and venting are safe for your family.
Why is my new water heater making a rumbling noise?
If it’s brand new, it might be “heat trap” nipples rattling, which is normal. If it’s an older unit, rumbling is caused by sediment buildup. The water gets trapped under a layer of sediment, turns to steam, and “pops” through the layer. This is a sign you need to flush your tank or plan for a replacement.
Conclusion
Mastering gas hot water tank installation is a significant achievement for any homeowner, but it requires respect for the technical details of gas, water, and air. By following this guide, you can ensure your home stays warm and safe.
If you hit a snag or simply want the peace of mind that comes with 25 years of expertise, Upfront Plumbing Drains Heating & Air is here to help. We serve the entire Boise and sorrounding areas, with honest pricing and quality work.
Ready for a worry-free upgrade? Schedule your professional gas water heater installation today and let us take the heavy lifting off your hands!